
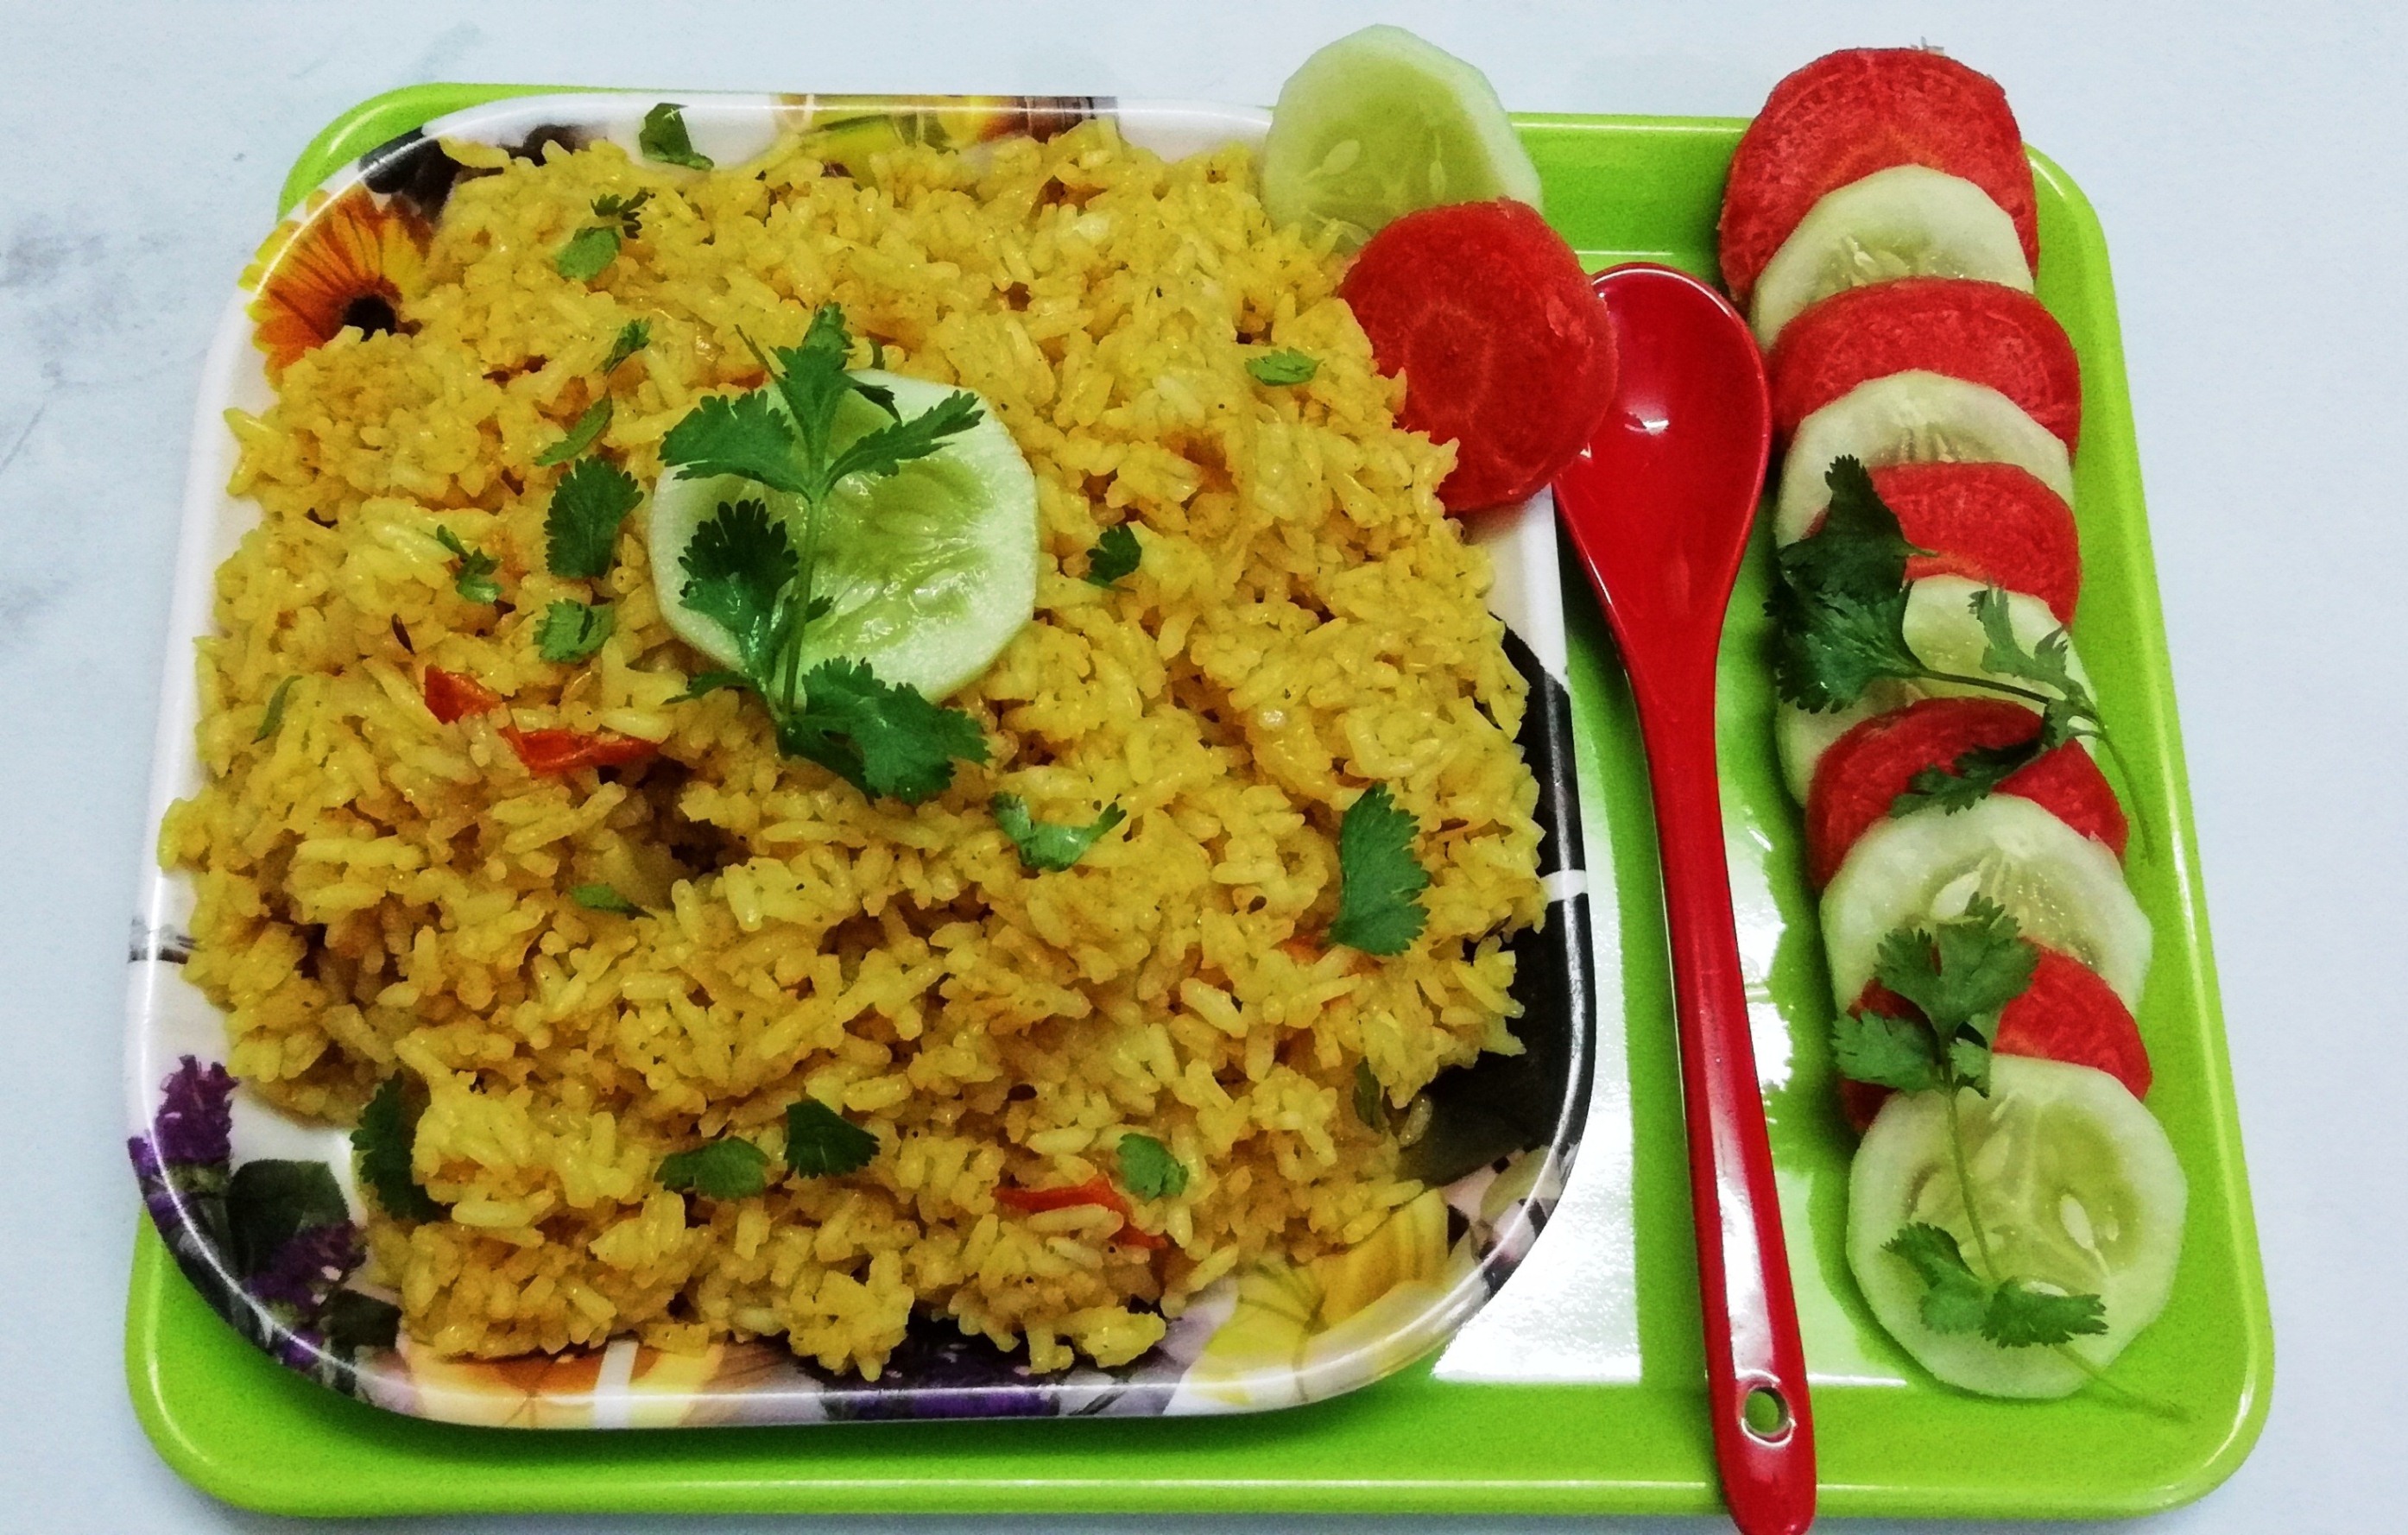
There are number of recipes that can be prepared from rice in different ways. Make slight changes in recipes to create a new recipe. Yellow rice is one of the frequently prepared rice dishes. It is easy and quick to prepare. Whenever you are in hurry and don’t have enough time, go for this Yellow Rice. Yellow Rice can be prepared plain or spicy. To keep it simple and plain, add less spice. The quantity of spice can be increased to make it spicier. Variations can be made by using fresh vegetables such as french beans, carrot, mushroom, sweet corn, etc. Yellow Rice is prepared by boiling the rice in an open stove or in cooker and then mixing it to fried masala. Fried Masala is prepared from Chopped Onion, Chopped Tomatoes and few spices. Cooking the rice in an open pot keeps the grains light and fluffy. So you can prefer to cook in an open pot. Preparation of Yellow Rice takes very less time and is delicious. It can be served with Curd, Raita, Pickle, Chutney or Kosambari.
For other Rice Recipes, please visit:
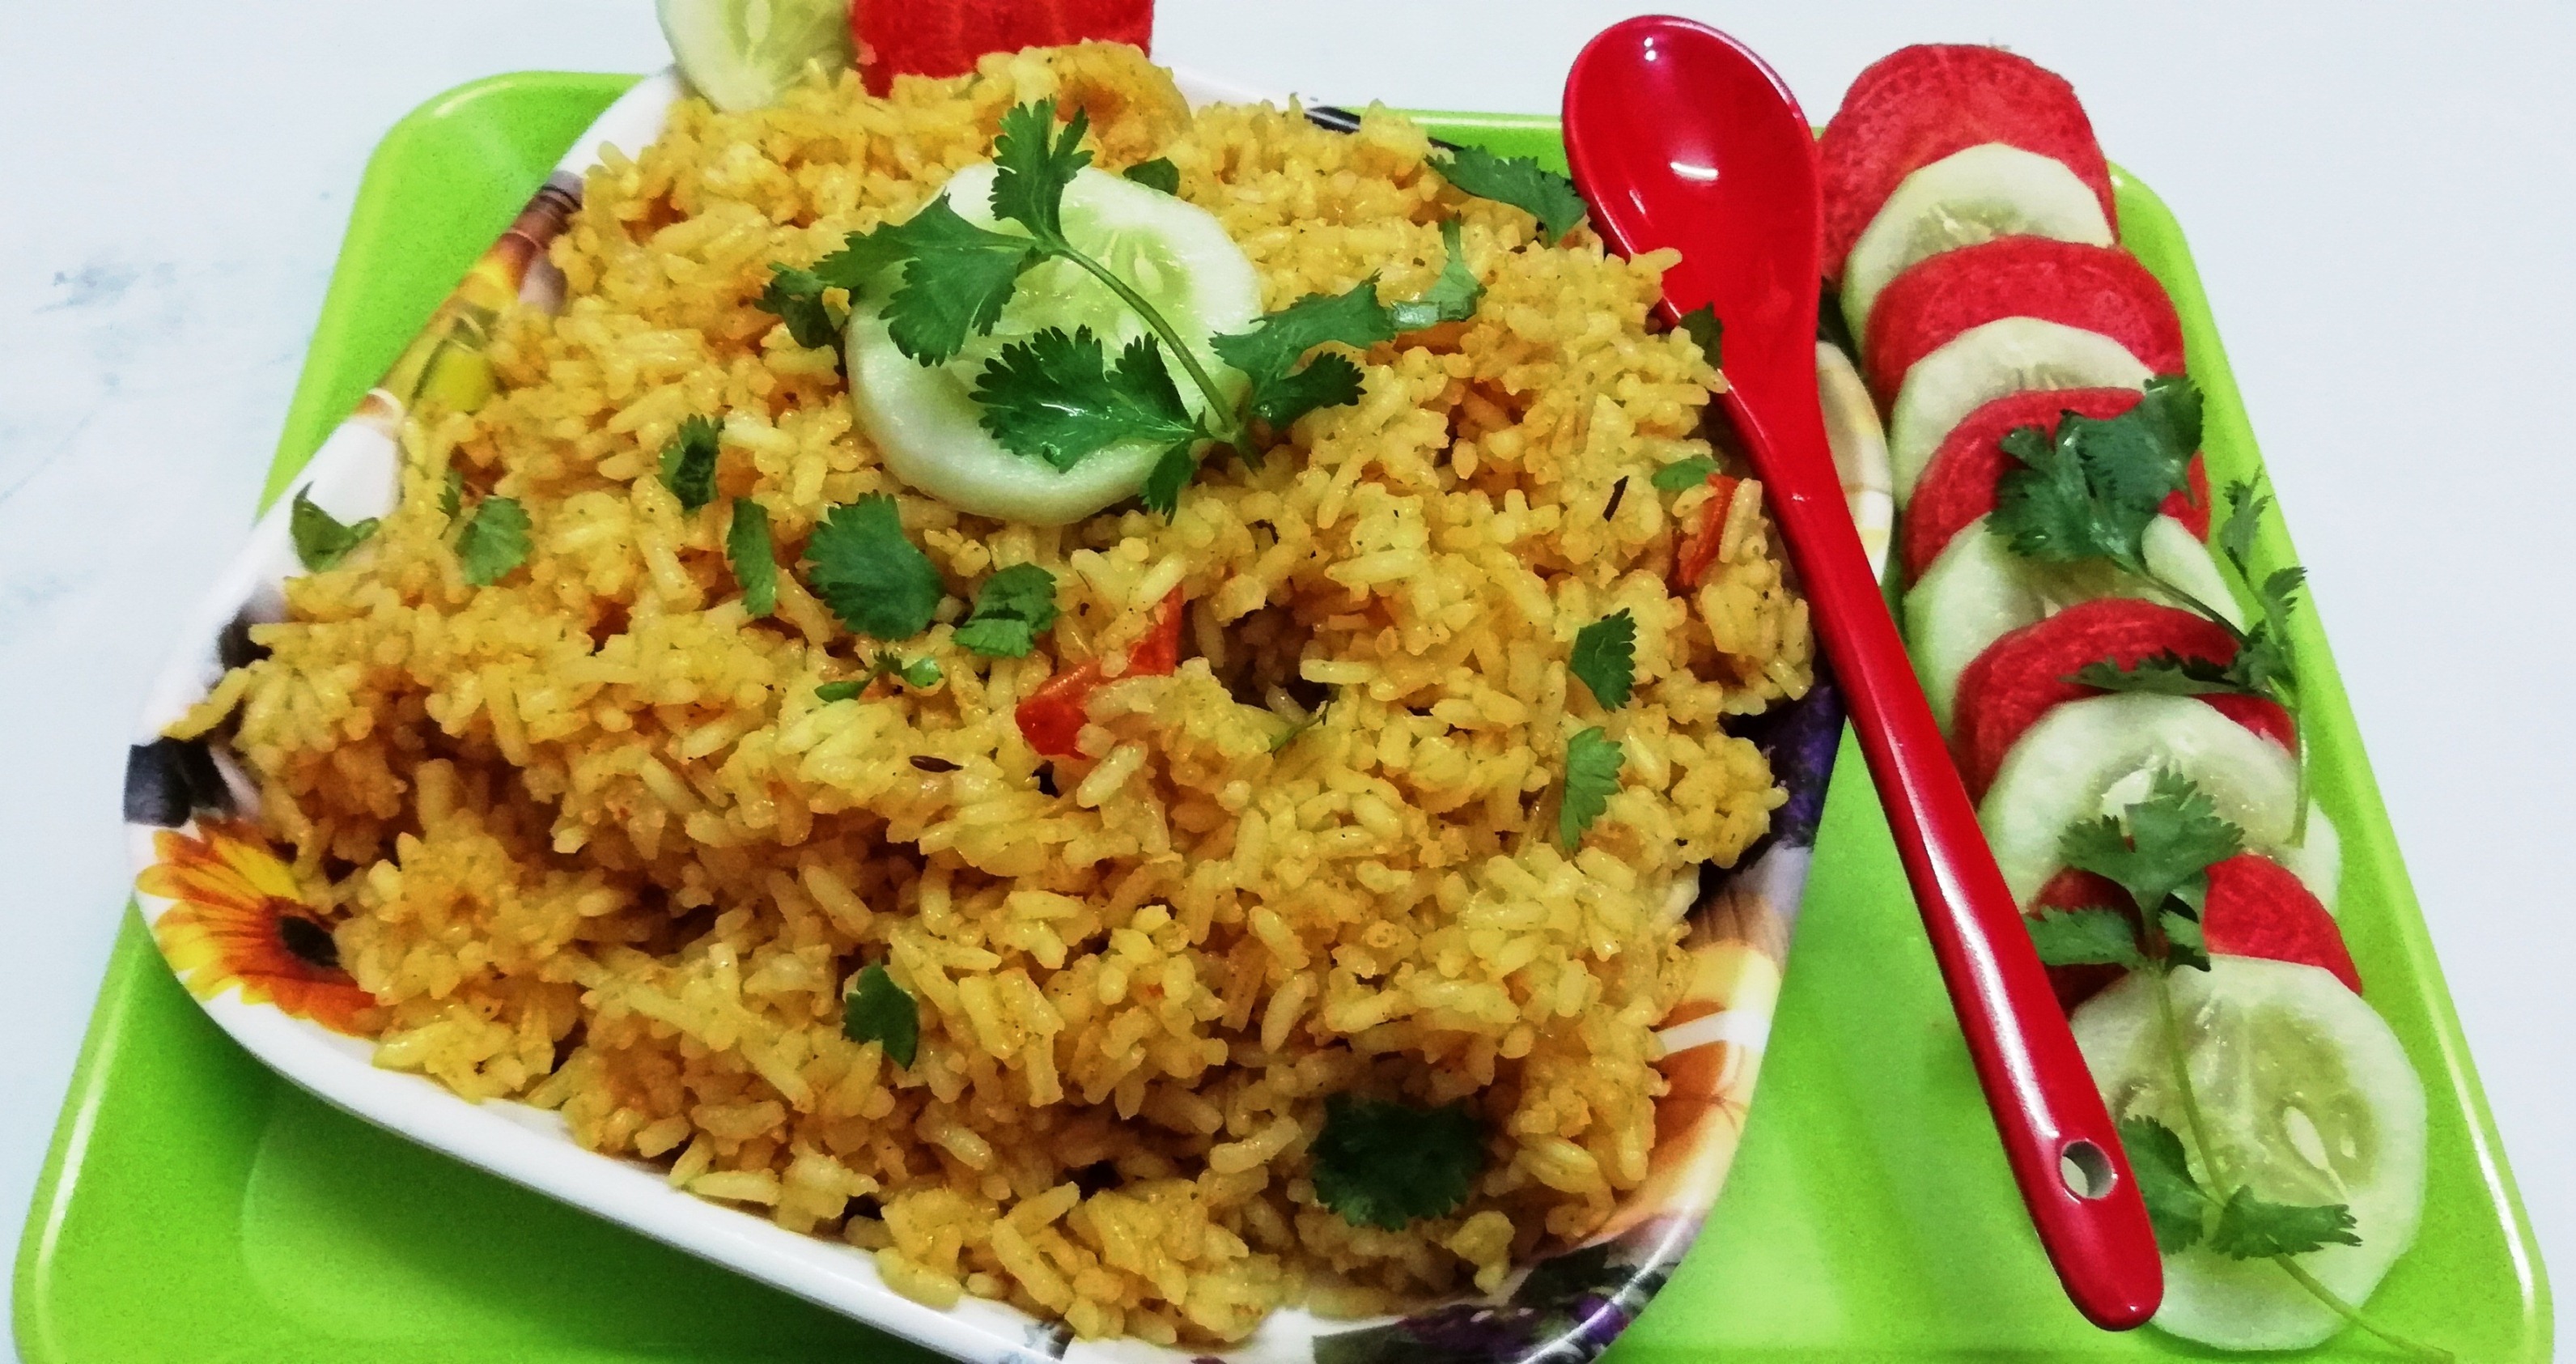
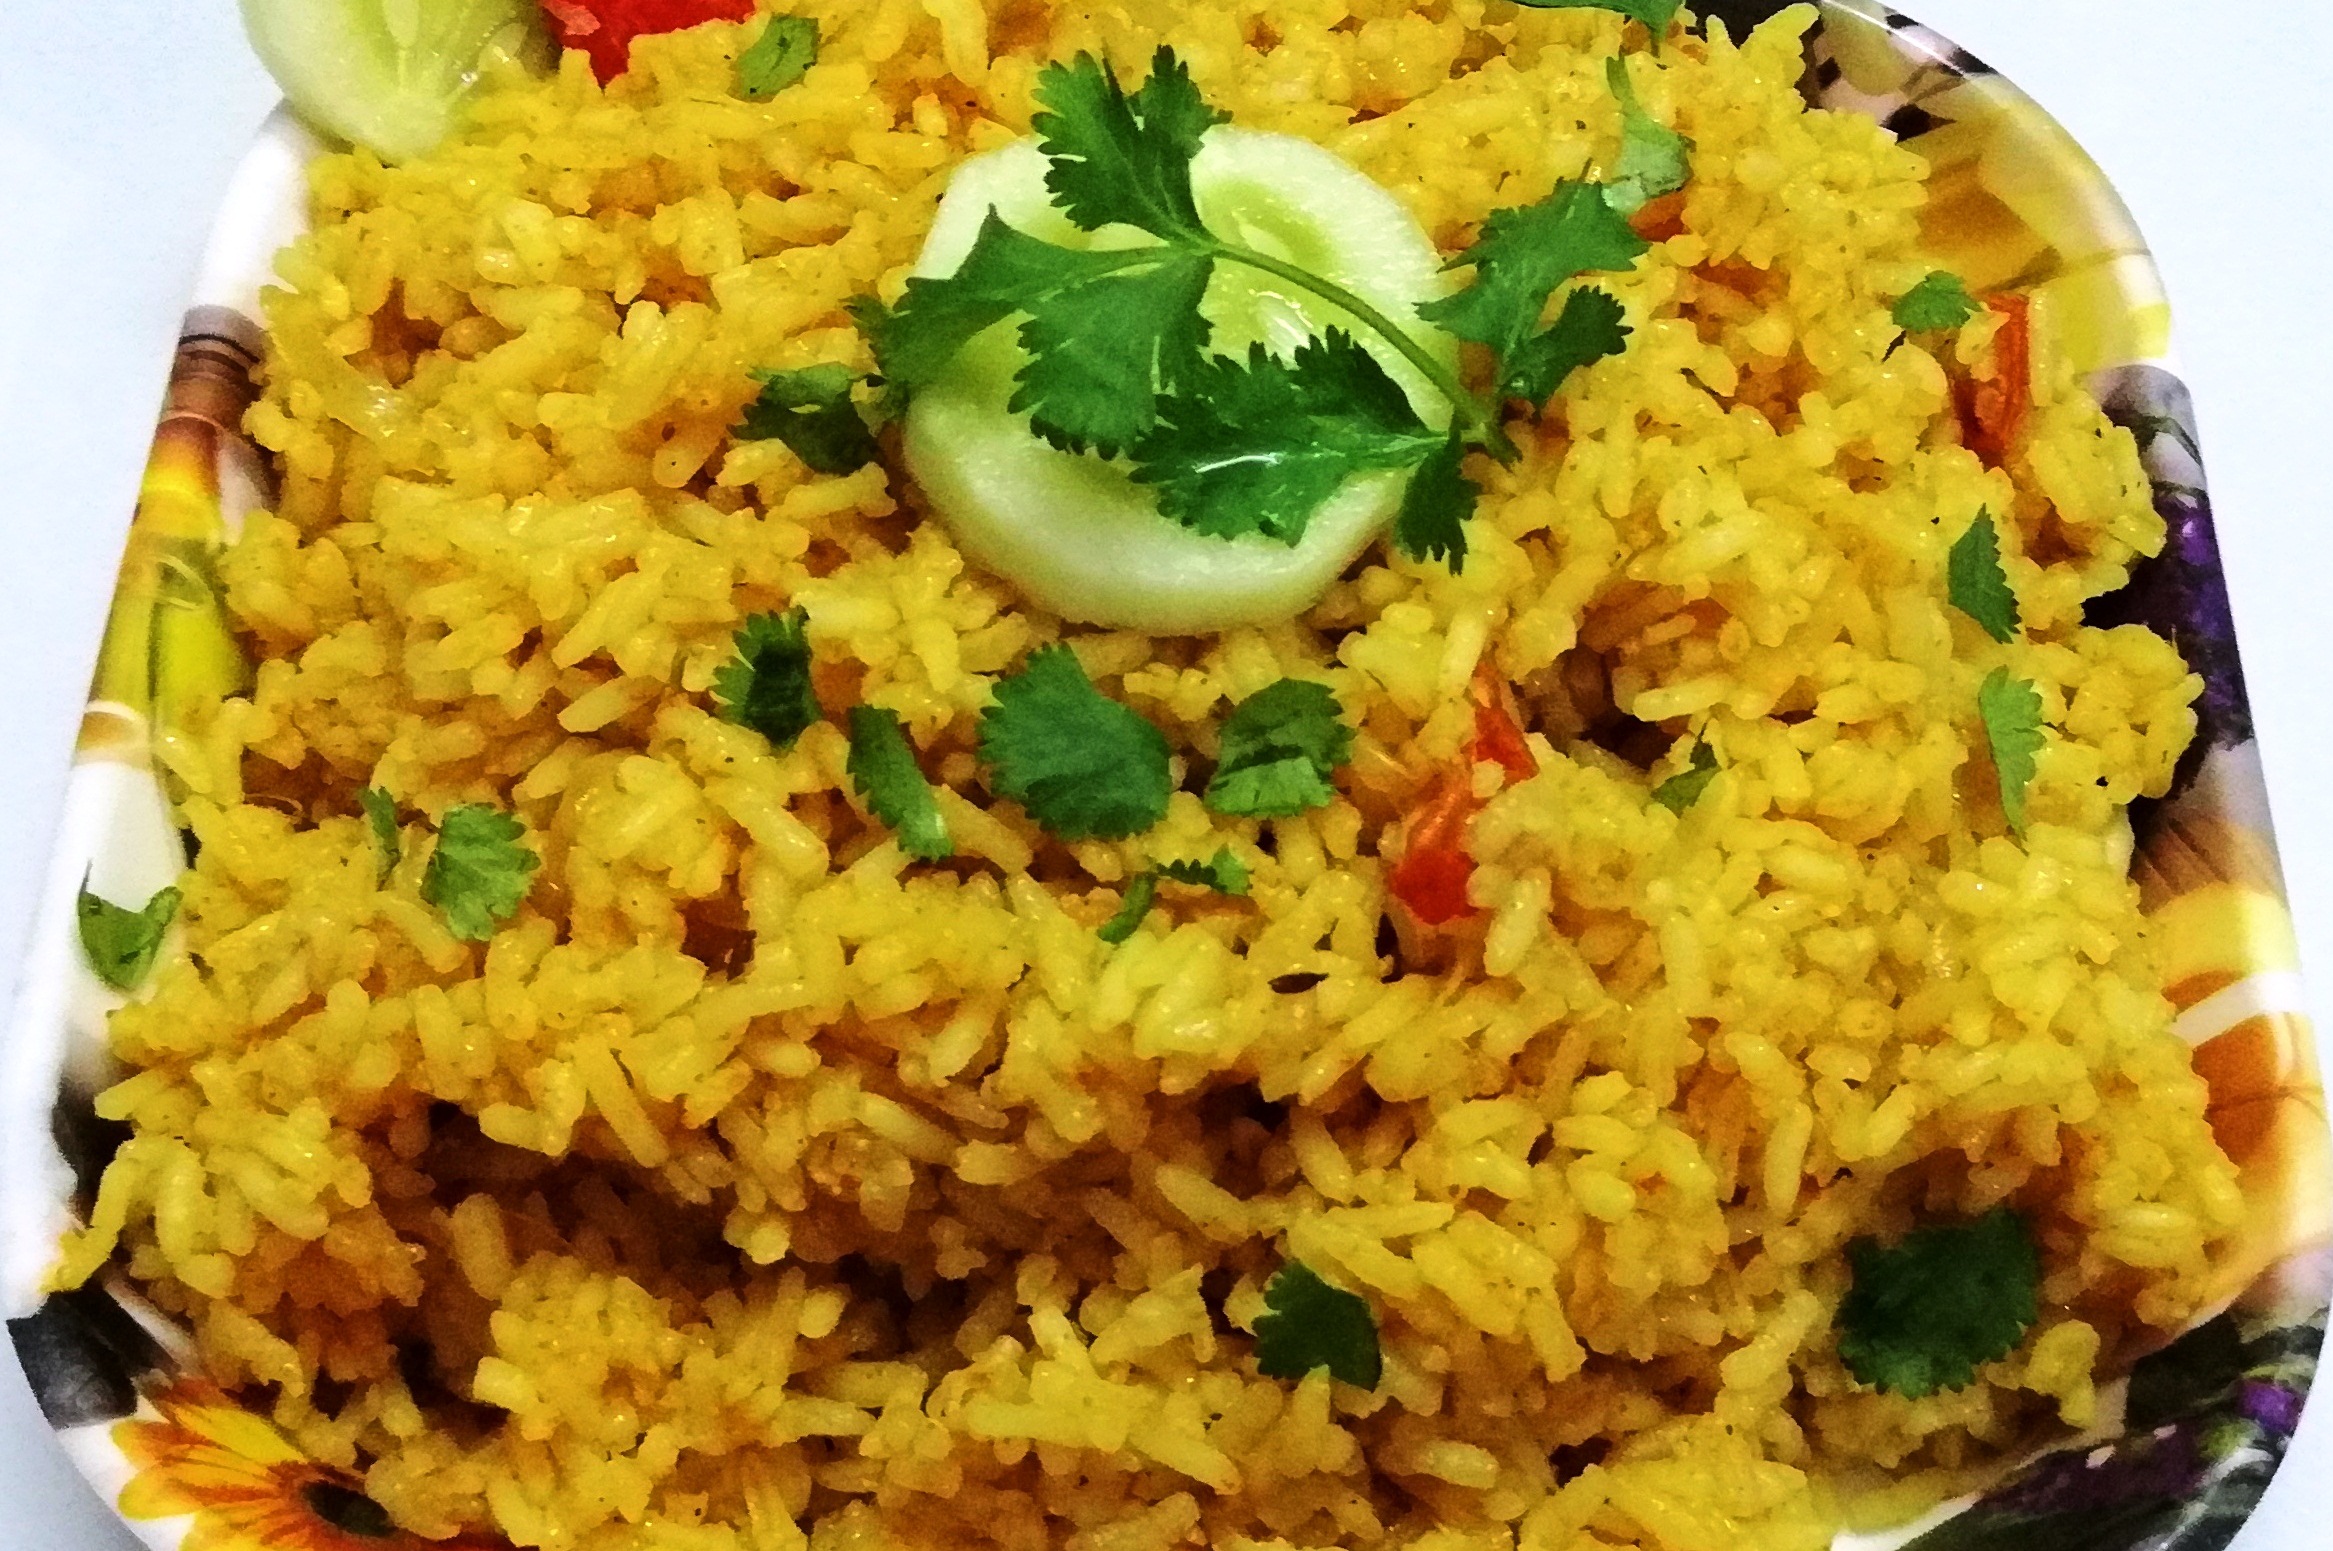
Yellow Masala Fried Rice
Ingredients:
- 1.5 cup Raw Rice (or Cooked Rice: 4 cups)
- 1 medium Chopped Onion
- 1 medium Chopped Tomato
- 2 piece Chopped Green Chillies
- 1/2 teaspoon Cumin Seeds
- 1 teaspoon Coriander Powder
- 1 tablespoon Chopped Coriander Leaves
- 1/2 teaspoon Turmeric Powder
- 2 teaspoon Ginger Garlic Paste
- 1/4 teaspoon Black Pepper
- 1/2 teaspoon Red Chilli Powder
- 2 tablespoon Cooking Oil
- Salt as per taste
Instructions:
- Soak the rice in water for 15 minutes after washing it in running water.
- Put the soaked rice in a cooker with 2 ½ cup water and cook over a medium flame for two whistles. Switch off the flame and allow the cooker to cool down itself.
- Open the lid and take out the cooked rice in a bowl and separate the rice grains from each other. Keep it aside.
- Now heat pan or kadai over medium heat and add cooking oil in it. Add Cumin seeds to it.
- When the Cumin Seeds starts crackling, add Chopped Green Chilli and Chopped Onion.
- Cook for 2 minutes or till the onions become translucent.
- Add Ginger Garlic Paste. Saute it for a minute.
- Add Chopped tomatoes and Salt. Fry till the tomatoes become soft and mushy.
- Now add Turmeric Powder, Red Chilli Powder, Black Pepper and Coriander Powder.
- Mix it and fry till the spices are cooked properly, leaves oil at the sides of the pan and give a good fragrance. Add water if required.
- Add Cooked Rice to the prepared masala. Turn the rice repeatedly and mix so that all the rice grains are covered with the spices.
- Turn of the stove. Add Chopped Coriander Leaves to the rice and mix it. Leave it for 3-4 minutes by covering it with lid.
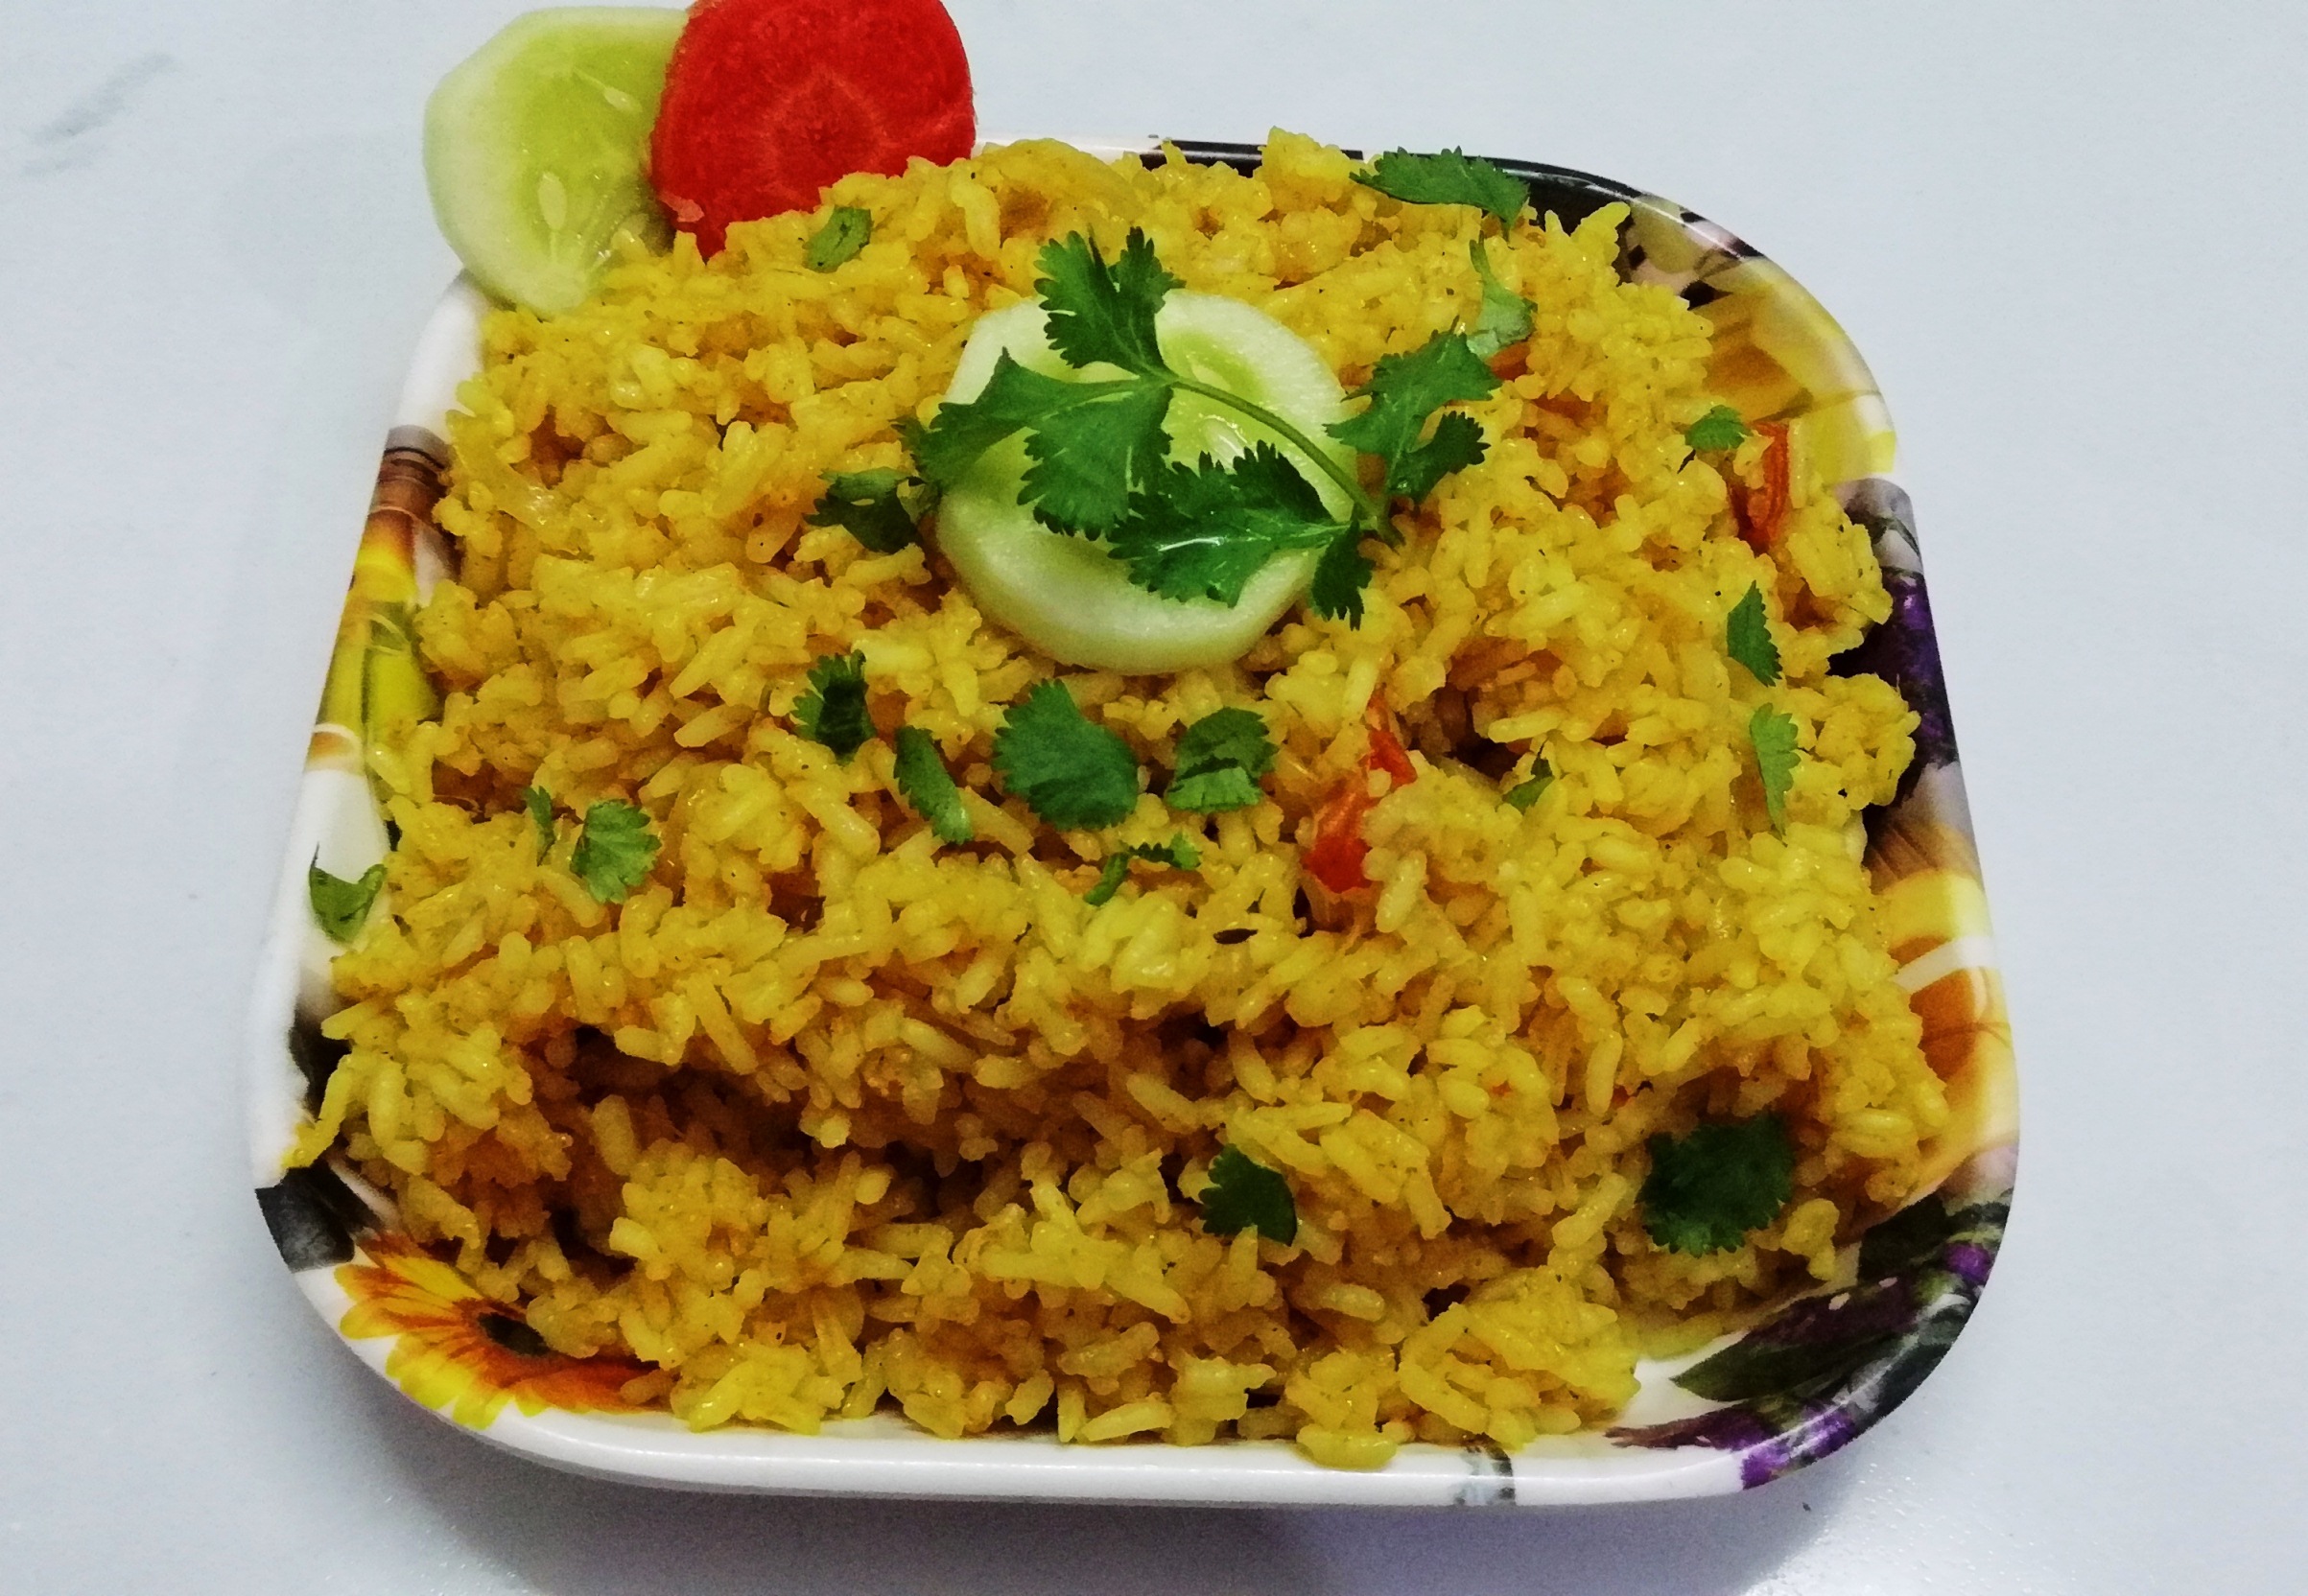
- Yellow Masala Fried Rice is ready. Garnish the rice with Coriander Leaves and serve it with Curd, Raita, Chutney or with any curry vegetable.
Notes:
- Vegetable can be added to the rice to make vegetable yellow rice. It’s optional.
- Rice is prepared few hours before preparing yellow rice. This is done so that the rice grains are easily separated and is fluffy.
- After switching off the stove, allow the pressure of the cooker to come down automatically. It helps in cooking the rice properly.
- You can add Lemon Juice or Aamchur Powder to give a tangy taste.
- Water can be added if required to cook the spices properly.


4 Comments
Usha
(March 29, 2018 - 7:34 pm)Bache hue cooked rice ka bhi best use.Its very tasty.
Recipe by Chits
(March 29, 2018 - 9:07 pm)Thank You
Madhuri Rastogi
(March 30, 2018 - 8:48 am)It looks awesome. It can be prepared in short time. Can we add some veggies to it?
Recipe by Chits
(March 30, 2018 - 9:49 am)Yes you can add some veggies by finely chopping them and frying them along with the masala.